Manual Setup
Connect your QuickBooks account to Shopify using custom credentials with Manual Setup
Manual Setup allows you to connect using your own custom QuickBooks OAuth app credentials. This is ideal for organizations that have their own Intuit developer app or need custom OAuth configuration.
Before proceeding, make sure you have completed the QuickBooks Setup steps to create your Intuit account, app, and configure the redirect URI.
When to Use Manual Setup
- You have your own QuickBooks developer app registered on the Intuit Developer Portal
- Your organization requires custom OAuth credentials
- You need to use specific redirect URLs for your setup
Prerequisites
- A QuickBooks Online account
- An app registered on the Intuit Developer Portal
- The QuickBooks Connector app installed on your Shopify store
- Completed QuickBooks Setup (Intuit account, app created, and redirect URI configured)
Steps to Connect
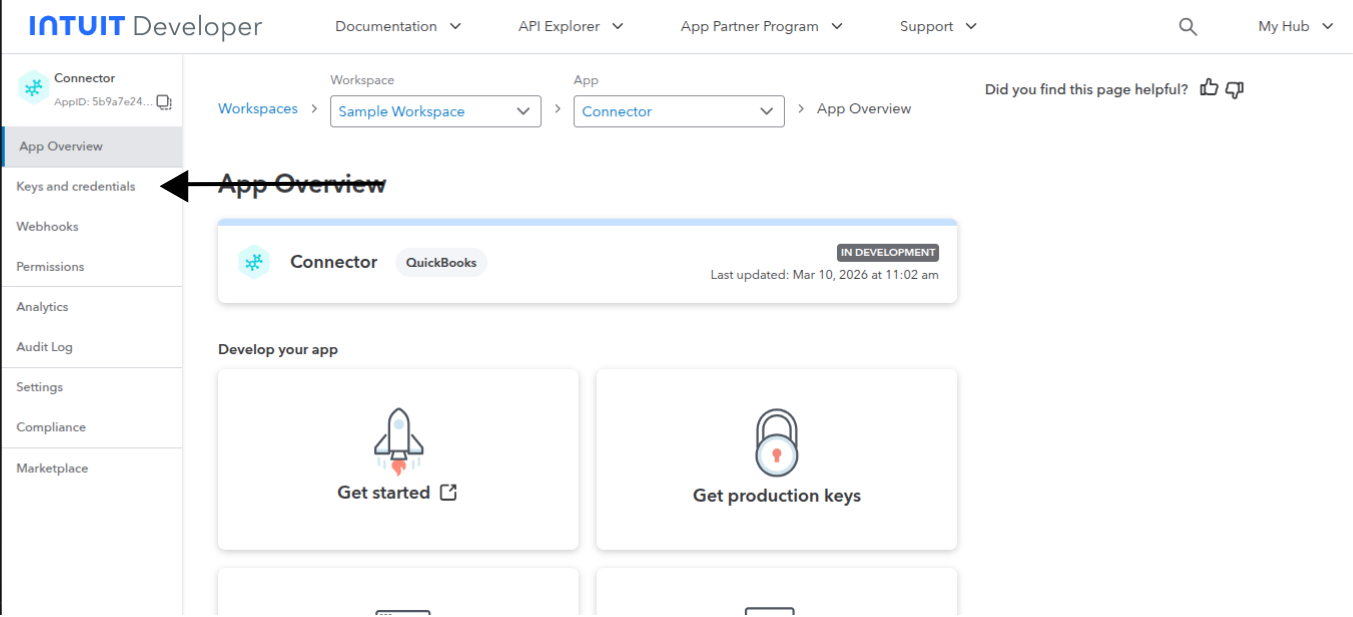
Step 1: Go to Your Intuit App
Go to the Intuit Developer Portal and sign in. Select your app from the workspace to open the App Overview page. Click Keys and credentials in the left sidebar.
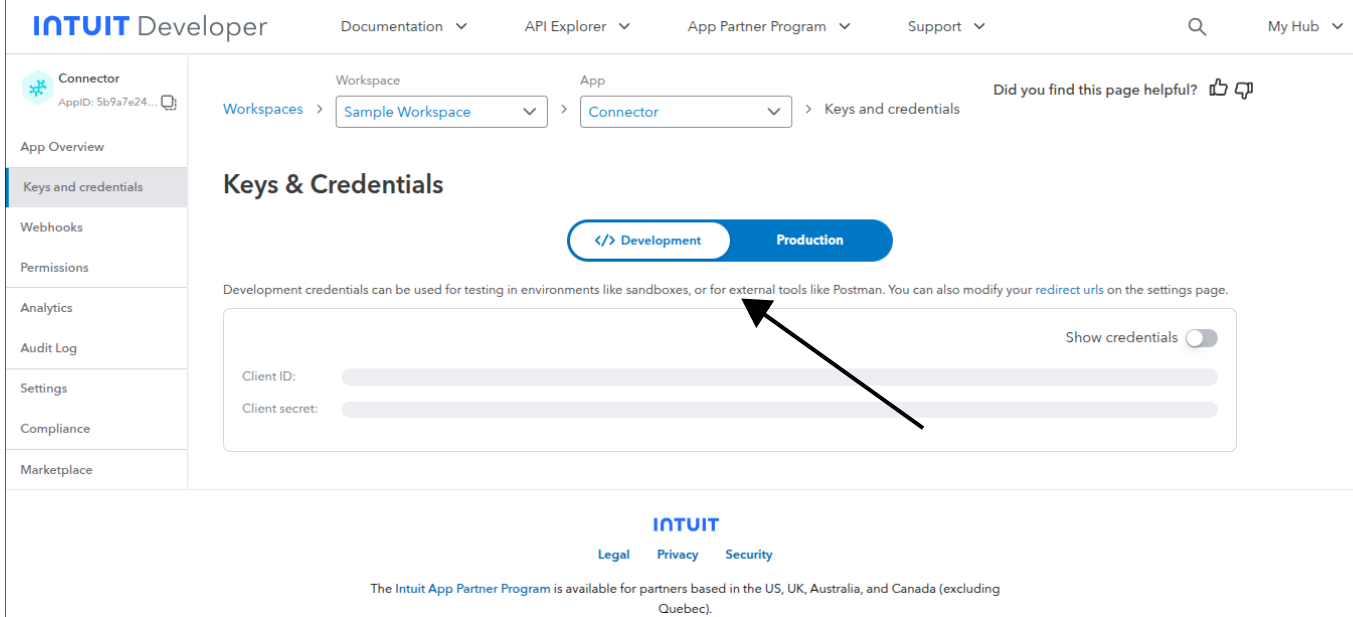
Step 2: Select Development or Production
On the Keys & Credentials page, select the environment tab based on your needs:
- Development — For testing with a QuickBooks Sandbox account
- Production — For connecting to your live QuickBooks Online account
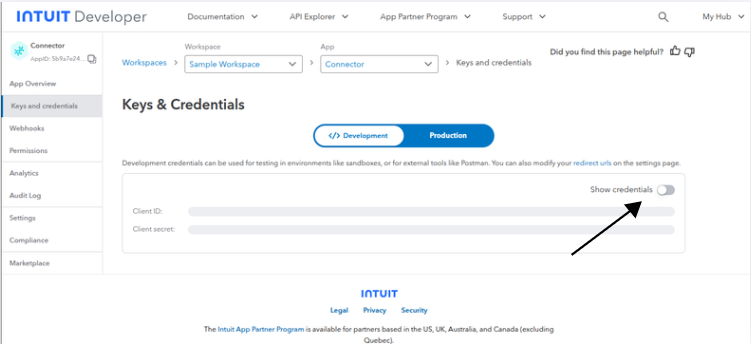
Step 3: Show Credentials
Click the Show credentials toggle to reveal your Client ID and Client Secret.
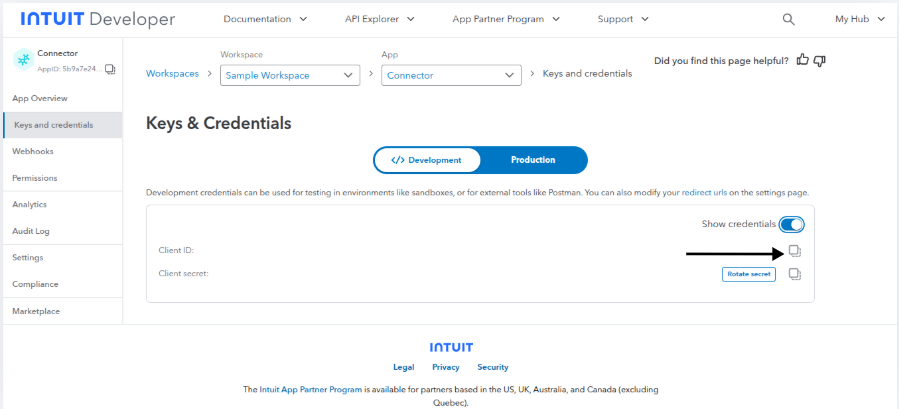
Step 4: Copy Client ID and Client Secret
Once credentials are visible, click the copy icon next to the Client ID and Client Secret to copy them to your clipboard.
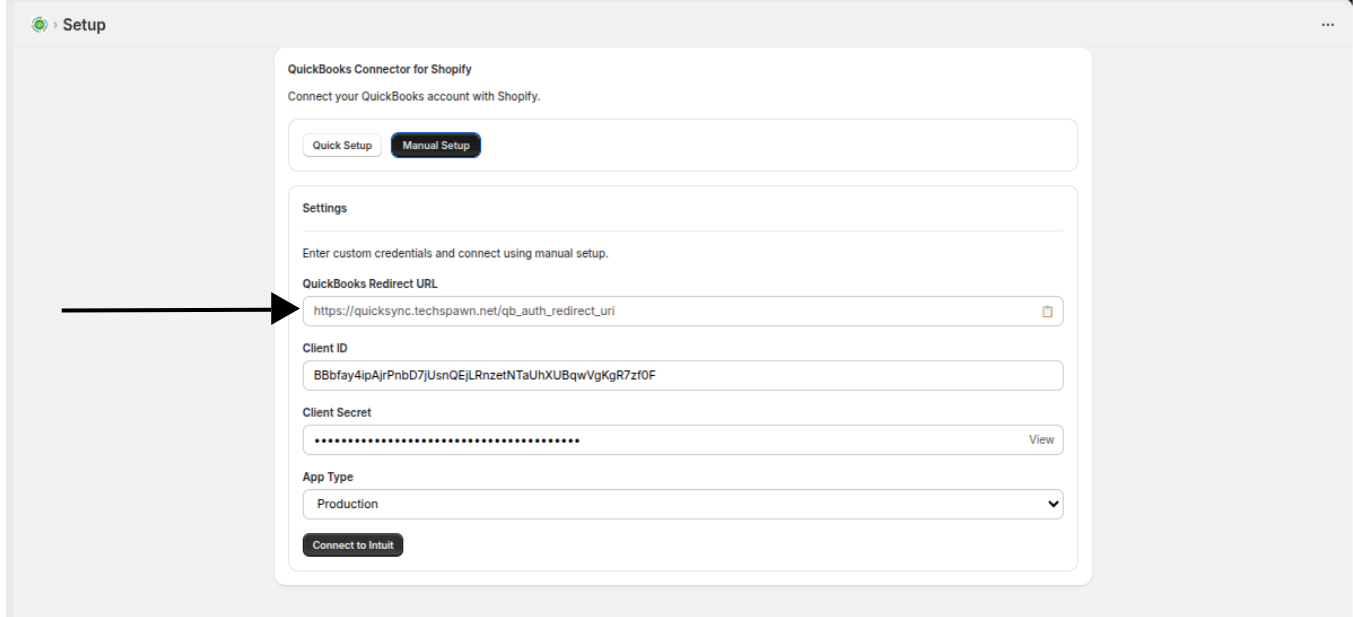
Step 5: Open Manual Setup Tab in QuickBooks Connector
Go to your Shopify admin and open the QuickBooks Connector app. Click the Manual Setup tab.
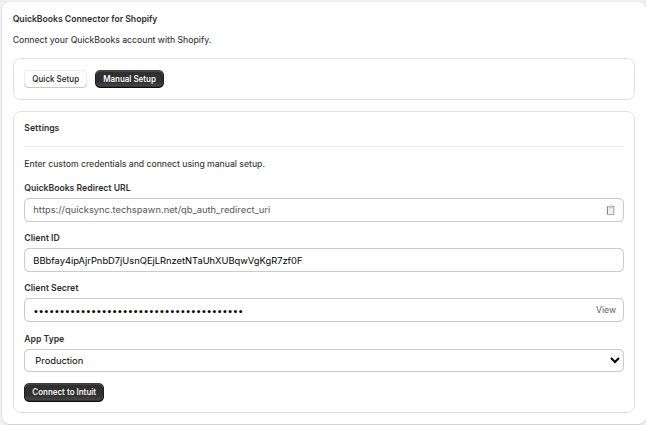
Step 6: Enter Credentials and Select Environment
Fill in the Manual Setup form with the credentials you copied:
- Client ID — Paste your Intuit app's Client ID
- Client Secret — Paste your Intuit app's Client Secret (click View to reveal the hidden value)
- App Type — Select Production or Sandbox to match the environment you selected in the Intuit Developer Portal
Make sure the App Type matches the environment of your Intuit developer app keys. Production keys only work with Production, and Sandbox keys only work with Sandbox.
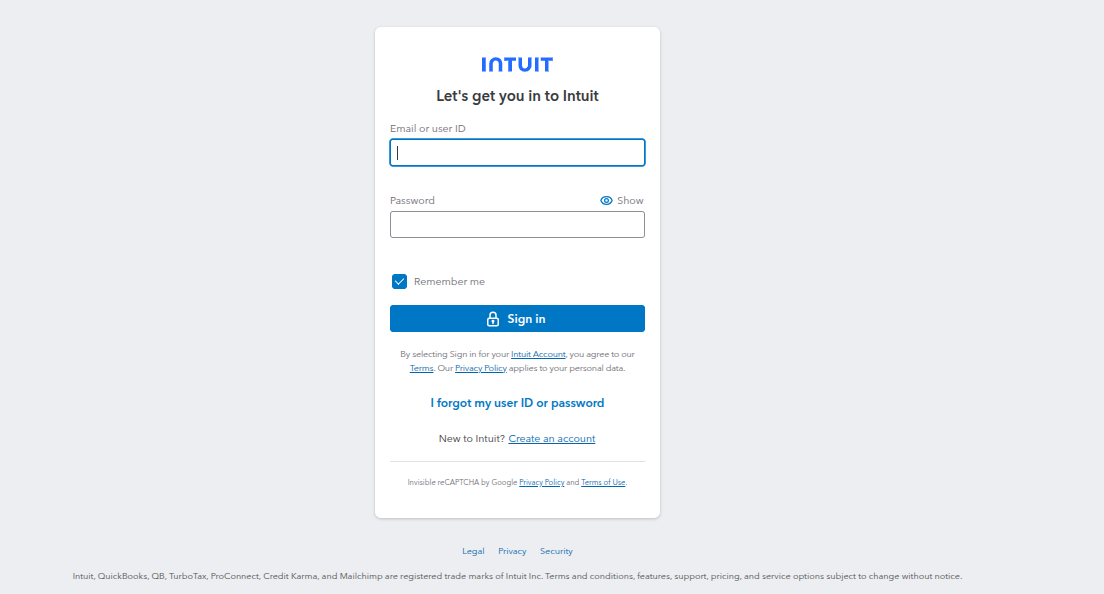
Step 7: Connect to Intuit
Click the Connect to Intuit button. A popup window will open redirecting you to the Intuit sign-in page. Sign in with your QuickBooks credentials.
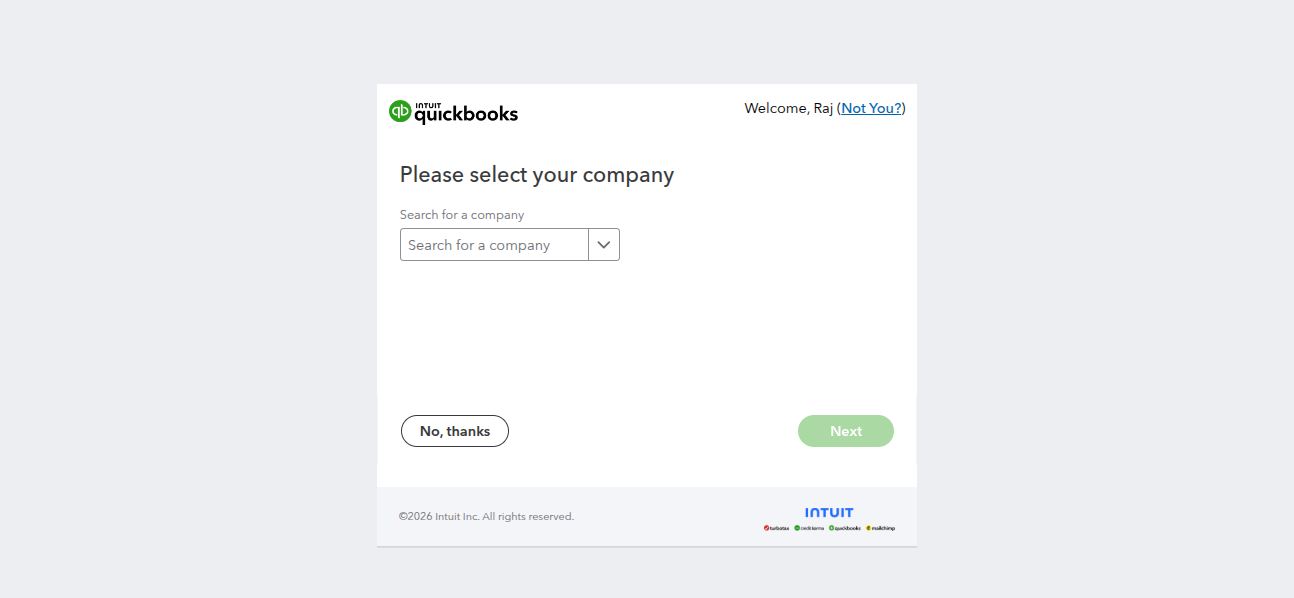
After signing in, select your company and click Next to authorize the connection.
Step 8: Connection Confirmed
Once authorized, the connection will be established. Your connection status will display:
- Company ID
- Environment (Production or Sandbox badge)
- Country
- Connected At timestamp
Troubleshooting
| Issue | Solution |
|---|---|
| Connection fails after authorization | Verify that the redirect URL in your Intuit app matches exactly the one shown in QuickBooks Connector |
| Invalid Client ID error | Double-check your Client ID — make sure there are no extra spaces |
| Token expired | Click Reset and reconnect to generate new tokens |
| Wrong environment | Ensure your App Type selection matches your Intuit app's key type (Production vs Sandbox) |
Next Steps
Once connected, you can start syncing your data: